DockerでMongoDBコンテナーと対話し新しいデータベースとコレクションを作成する

スポンサーリンク

DockerでMongoDBコンテナーとの対話を行ってみます。その結果として新しいデータベースとコレクションを作成してみます。

この記事は以前公開した「DockerでMongoDBコンテナーをセットアップ(設定)する」という記事の続きとなります。

■環境

Windows10(DockerDesktopインストール済み)

docker version

Client:
Cloud integration: v1.0.22
Version: 20.10.12
API version: 1.41
Go version: go1.16.12
Git commit: e91ed57
Built: Mon Dec 13 11:44:07 2021
OS/Arch: windows/amd64
Context: default
Experimental: true

Server: Docker Engine - Community
Engine:
Version: 20.10.12
API version: 1.41 (minimum version 1.12)
Go version: go1.16.12
Git commit: 459d0df
Built: Mon Dec 13 11:43:56 2021
OS/Arch: linux/amd64
Experimental: false
containerd:
Version: 1.4.12
GitCommit: 7b11cfaabd73bb80907dd23182b9347b4245eb5d
runc:
Version: 1.0.2
GitCommit: v1.0.2-0-g52b36a2
docker-init:
Version: 0.19.0
GitCommit: de40ad0

■MongoDBコンテナーに接続する

DockerでMongoDBコンテナーとの対話を行う前に、MongoDBコンテナーに接続してみます。なお、今回は「crazy_napier」という新しいMongoDBコンテナーを作り、それと対話します。

>docker exec -it crazy_napier bash

接続のために、Windows10のコマンドプロンプトを起動します。「docker exec」コマンドでcrazy_napierという稼働中のコンテナに対して、コマンドを実行します。それは、「-it」オプションで、bashプロセスを新規で立ち上げ、操作できるようにするものです。

Enterキーを押すと、bashシェルが立ち上がります。

>mongo

立ち上がった後に、上記のコマンドを入力し、Enterキーを押します。これでMongoDBシェルクライアントを起動できます。

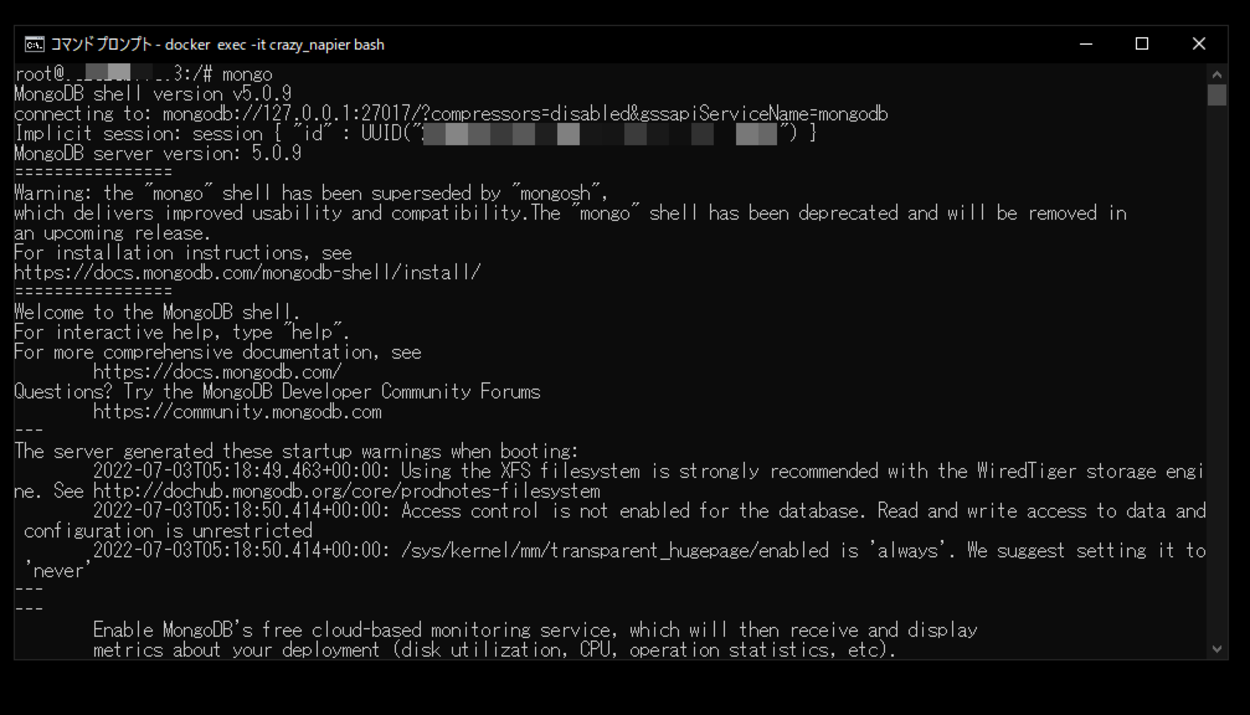
MongoDB shell version v5.0.9
connecting to: mongodb://127.0.0.1:27017/?compressors=disabled&gssapiServiceName=mongodb
Implicit session: session { "id" : UUID("*****-****-****-****-****") }
MongoDB server version: 5.0.9
================
Warning: the "mongo" shell has been superseded by "mongosh",
which delivers improved usability and compatibility.The "mongo" shell has been deprecated and will be removed in
an upcoming release.
For installation instructions, see

arrow-right
Prerequisites, compatibility issues, and installation instructions for mongosh, the MongoDB Shell.
================ Welcome to the MongoDB shell. For interactive help, type "help". For more comprehensive documentation, see https://docs.mongodb.com/ Questions? Try the MongoDB Developer Community Forums https://community.mongodb.com --- The server generated these startup warnings when booting: 2022-07-03T05:18:49.463+00:00: Using the XFS filesystem is strongly recommended with the WiredTiger storage engine. See http://dochub.mongodb.org/core/prodnotes-filesystem 2022-07-03T05:18:50.414+00:00: Access control is not enabled for the database. Read and write access to data and configuration is unrestricted 2022-07-03T05:18:50.414+00:00: /sys/kernel/mm/transparent_hugepage/enabled is 'always'. We suggest setting it to 'never' --- --- Enable MongoDB's free cloud-based monitoring service, which will then receive and display metrics about your deployment (disk utilization, CPU, operation statistics, etc). 
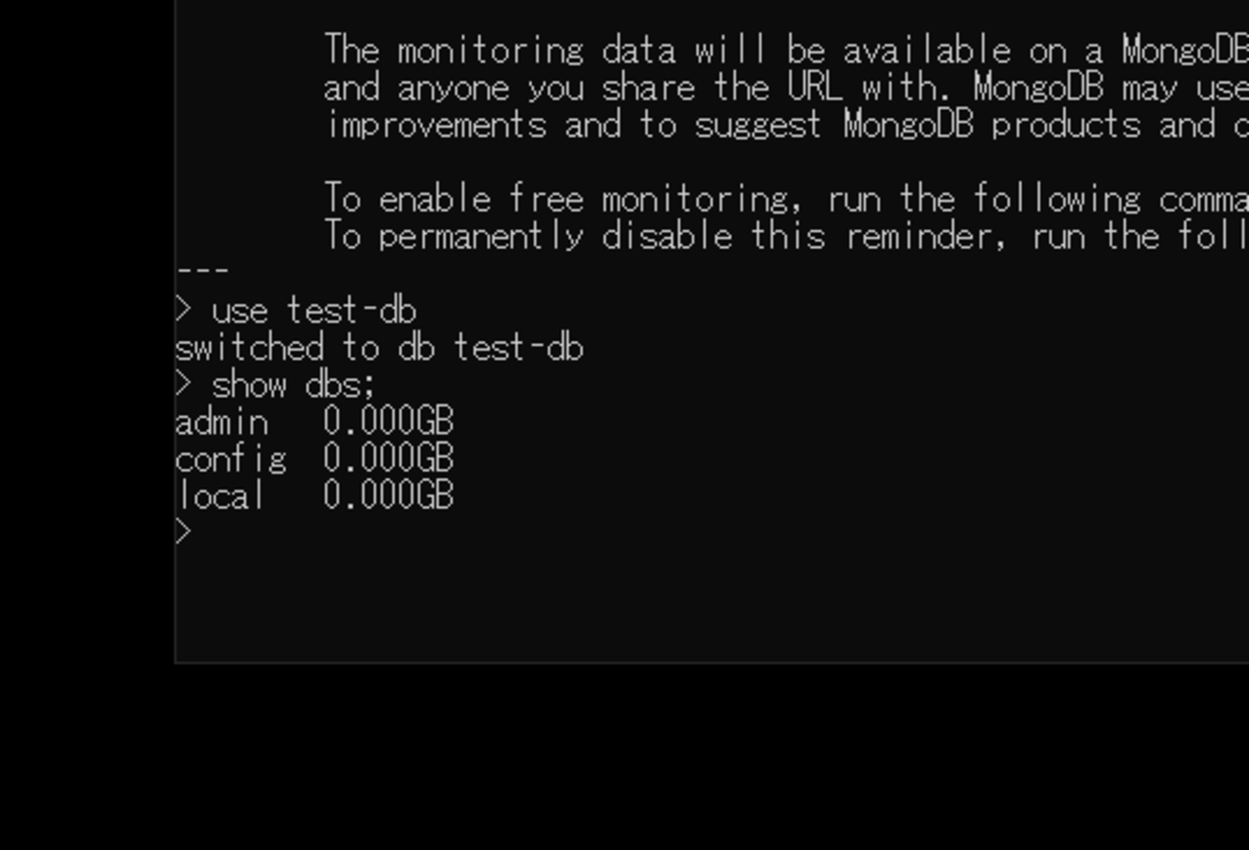
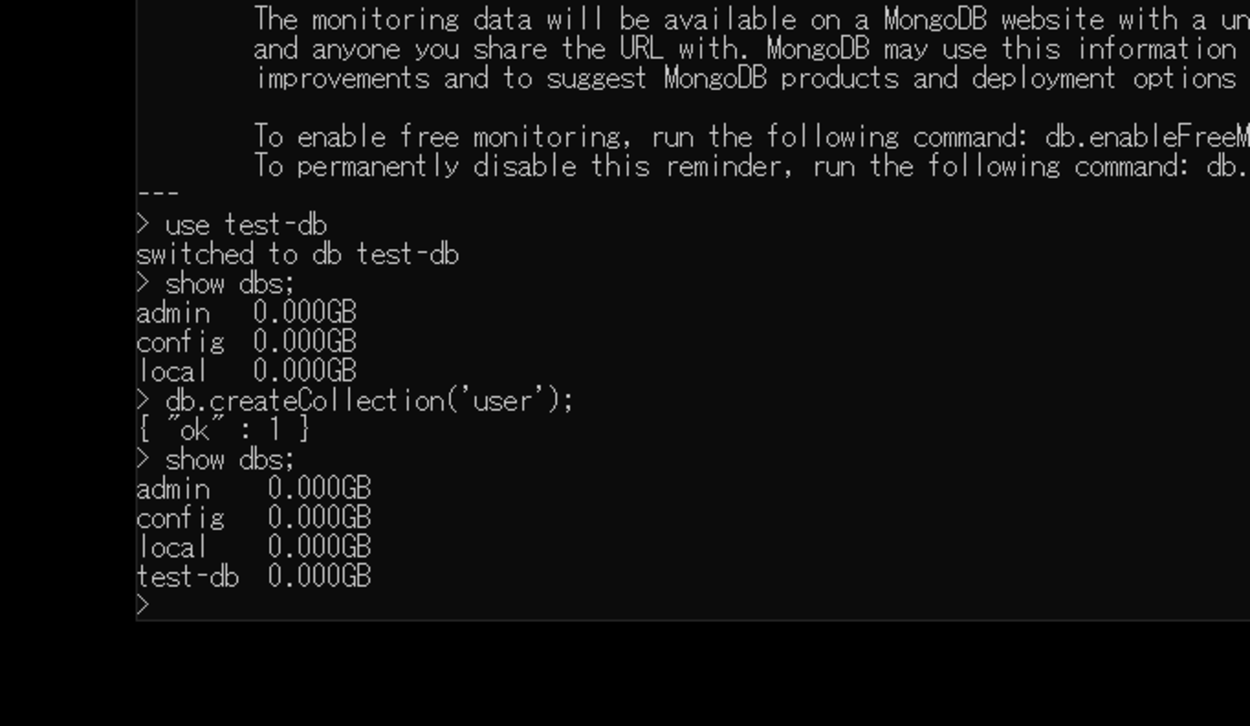
The monitoring data will be available on a MongoDB website with a unique URL accessible to you and anyone you share the URL with. MongoDB may use this information to make product improvements and to suggest MongoDB products and deployment options to you. To enable free monitoring, run the following command: db.enableFreeMonitoring() To permanently disable this reminder, run the following command: db.disableFreeMonitoring() ---

Enterキーを押すと、上記のメッセージが出力され、MongoDBシェルクライアントが起動します。

■新しいデータベースを作成する

>use test-db

MongoDBシェルクライアントを起動後、上記のコマンドを入力し、Enterキーを押します。「use」コマンドを使用し、test-dbという新しいデータベースを作成してみます。

switched to db test-db

Enterキーを押すと、「switched to db test-db(db”test-db”に切り替えました)」と出力され、新しいデータベースが作成され、作成したデータベースに切り替えが行われました。

>show dbs;

切り替え後、上記のコマンドを入力し、Enterキーを押します。これでデータベースの一覧を表示します。

Enterキーを押すと、データベースの一覧が表示されますが、今回作成したtest-dbという新しいデータベースは確認できませんでした。確認できるようにするためには、コレクションを作成する必要があります。

>db.createCollection('user');

コレクションを作成する必要があるので、上記のコマンドを入力し、Enterキーを押します。これでデータベース内にコレクションを作成します。

{ "ok" : 1 }

Enterキーを押すと、上記のメッセージが出力されます。これでコレクションの作成が完了となります。

>show dbs;

作成完了後、再度上記のコマンドを入力し、Enterキーを押します。

Enterキーを押すと、データベースの一覧が表示されますが、コレクションを追加したため、test-dbというデータベースが確認できる状態となりました。

コメント

タイトルとURLをコピーしました