
Google CalendarAPIにリクエストを送信する単純なPythonコマンドラインアプリケーションを作成してみます。
■Python
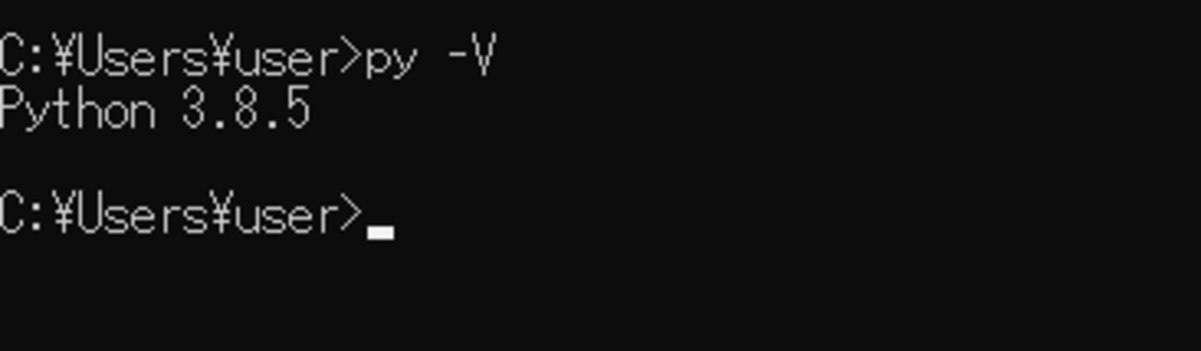
今回のPythonのバージョンは、「3.8.5」を使用しています。(Windows10)(pythonランチャーでの確認)
■Google DeveloperのPythonクイックスタートにアクセスする
Google DeveloperのPythonクイックスタート(https://developers.google.com/calendar/quickstart/python)にアクセスします。
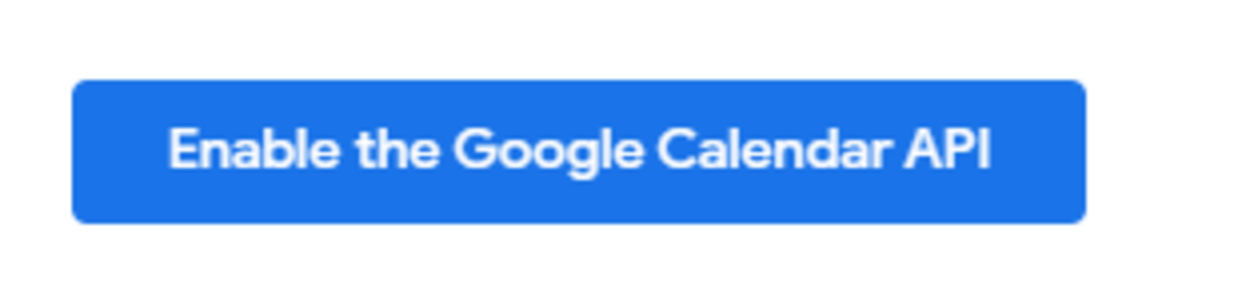
アクセスすると、「Enable the Google Calendar API(Google CalendarAPIを有効にする)」ボタンがありますので、こちらをクリックします。クリックする前に、Googleアカウントで取得しGoogleにログインしておく必要があります。
■Google CalendarAPIを有効する

クリックすると、「Enable the Google Calendar API(Google CalendarAPIを有効にする)」のウインドウが表示されます。「Enter new project name(新しいプロジェクト名を入力してください)」と書かれている入力欄には、すでに「QuickStart」というプロジェクト名が入力していますので、このままで問題はありません。
次に「I agree that my use of any services and related APIs is subject to compliance with the applicable Terms of Service(私は、サービスおよび関連するAPIの使用が、該当する利用規約の遵守の対象となることに同意します)」と書かれていますので、利用規約とサービスと関連APIの内容を確認し、同意するために、「Yes」のチェックボックスにチェックを入れます。
チェックを入れた後に「NEXT」ボタンをクリックします。
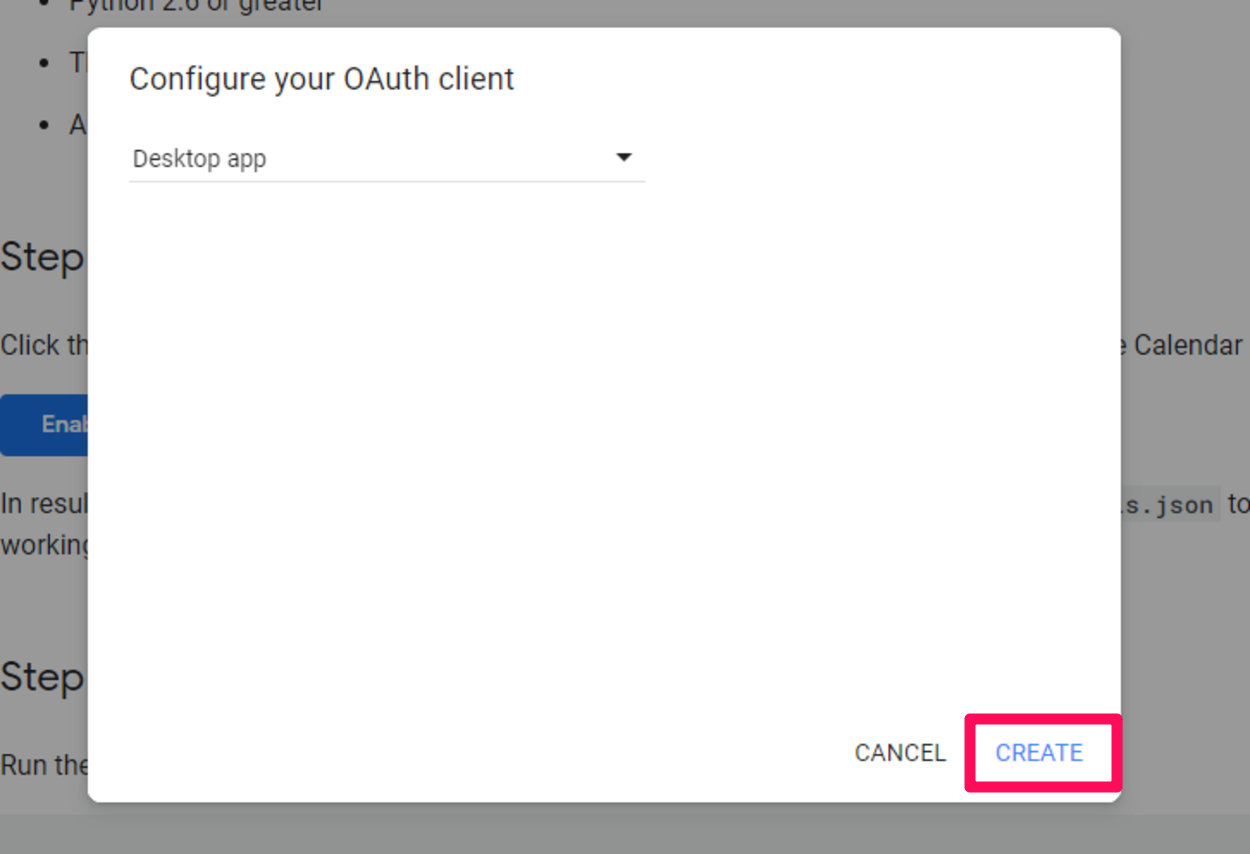
クリックすると、「Configure your OAuth client(OAuthクライアントを構成する)」のウインドウが表示されます。ウインドウ内の項目には「Desktop app」と表示されていますので、このままで問題はありません。変更した場合は「Desktop app」の文字をクリックすると、プルダウンメニューが表示されてメニュー内から選択できます。
その後「CREATE」ボタンをクリックします。
■JSONファイルのダウンロード
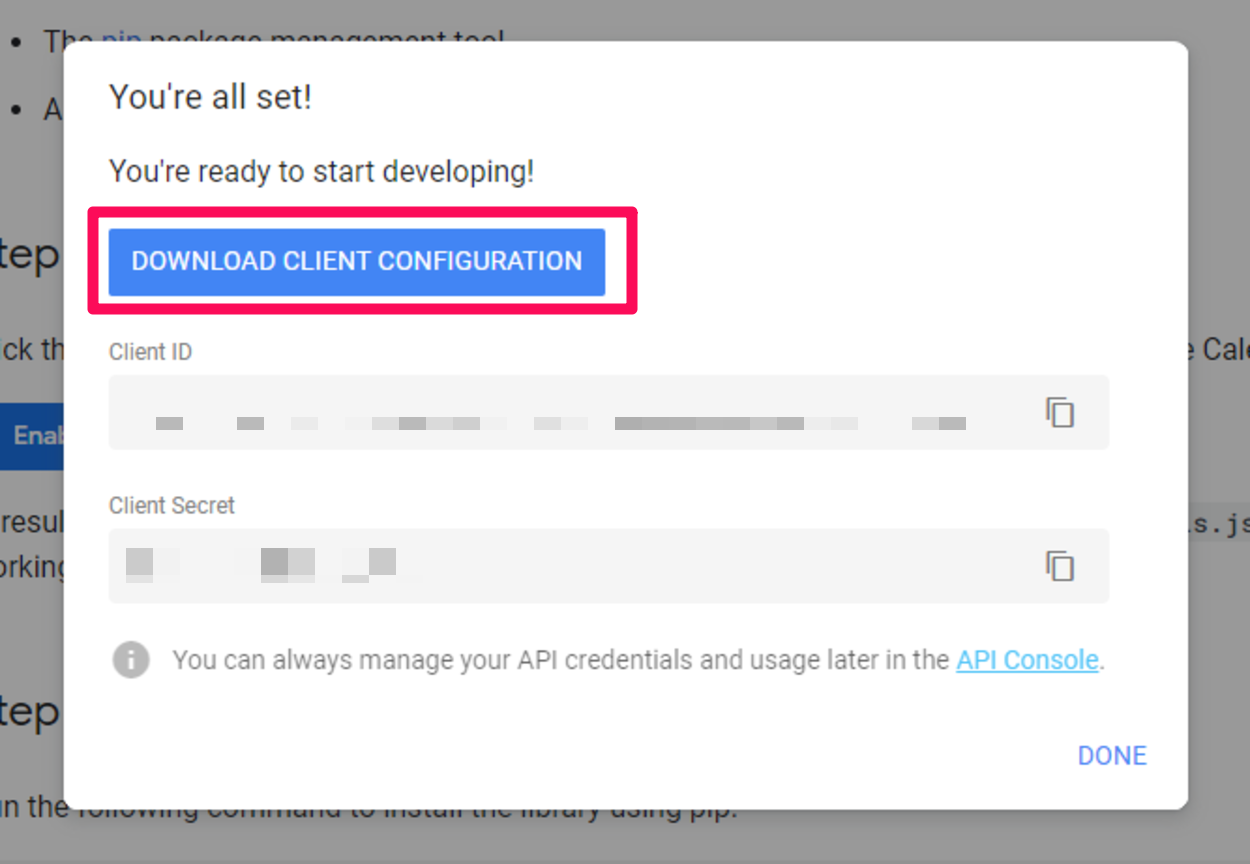
クリックすると「You’re all set!(これで準備完了です。)」というウインドウが表示されます。ウインドウ内の「DOWNLOAD CLIENT CONFIGURATION(クライアント構成をダウンロードする)」ボタンをクリックします。
クリックすると、Webブラウザで指定されているファイルの保存場所に「credentials.json」がダウンロードされます。
ダウンロード完了後、ウインドウ内の「Client ID」、「Client Secret」を保存し、「DONE」ボタンをクリックして、ウインドウを閉じます。
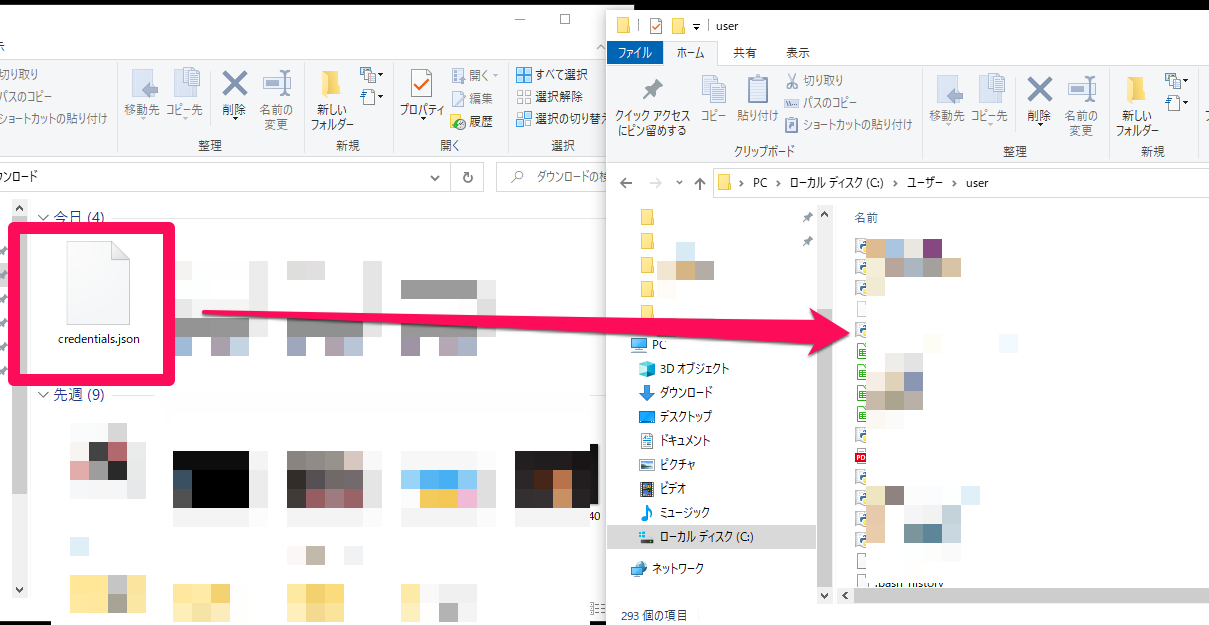
閉じた後に、Pythonが実行されている作業ディレクトリ(カレントディレクトリ)にダウンロードした「credentials.json」のファイルを移動させます。
■Windowsのコマンドプロンプトを起動しライブラリをインストール
移動後、Windowsのコマンドプロンプトを起動します。
pip install --upgrade google-api-python-client google-auth-httplib2 google-auth-oauthlib
起動後、上記のコマンドを入力し、Enterキーを押します。
Collecting google-api-python-client
Downloading google_api_python_client-1.12.8-py2.py3-none-any.whl (61 kB)
|████████████████████████████████| 61 kB 5.8 kB/s
Collecting google-auth-httplib2
Downloading google_auth_httplib2-0.0.4-py2.py3-none-any.whl (9.1 kB)
Collecting google-auth-oauthlib
Downloading google_auth_oauthlib-0.4.2-py2.py3-none-any.whl (18 kB)
Collecting google-api-core<2dev,>=1.21.0
Downloading google_api_core-1.23.0-py2.py3-none-any.whl (91 kB)
|████████████████████████████████| 91 kB 1.2 MB/s
Requirement already satisfied, skipping upgrade: six<2dev,>=1.13.0 in c:\pg\python38\lib\site-packages (from google-api-python-client) (1.15.0)
Collecting uritemplate<4dev,>=3.0.0
Using cached uritemplate-3.0.1-py2.py3-none-any.whl (15 kB)
Collecting httplib2<1dev,>=0.15.0
Downloading httplib2-0.18.1-py3-none-any.whl (95 kB)
|████████████████████████████████| 95 kB 885 kB/s
Collecting google-auth>=1.16.0
Downloading google_auth-1.23.0-py2.py3-none-any.whl (114 kB)
|████████████████████████████████| 114 kB 2.2 MB/s
Requirement already satisfied, skipping upgrade: requests-oauthlib>=0.7.0 in c:\pg\python38\lib\site-packages (from google-auth-oauthlib) (1.3.0)
Requirement already satisfied, skipping upgrade: setuptools>=34.0.0 in c:\users\user\appdata\roaming\python\python38\site-packages (from google-api-core<2dev,>=1.21.0->google-api-python-client) (50.3.2)
Requirement already satisfied, skipping upgrade: pytz in c:\pg\python38\lib\site-packages (from google-api-core<2dev,>=1.21.0->google-api-python-client) (2020.4)
Collecting googleapis-common-protos<2.0dev,>=1.6.0
Downloading googleapis_common_protos-1.52.0-py2.py3-none-any.whl (100 kB)
|████████████████████████████████| 100 kB 634 kB/s
Requirement already satisfied, skipping upgrade: requests<3.0.0dev,>=2.18.0 in c:\pg\python38\lib\site-packages (from google-api-core<2dev,>=1.21.0->google-api-python-client) (2.25.0)
Collecting protobuf>=3.12.0
Downloading protobuf-3.14.0-py2.py3-none-any.whl (173 kB)
|████████████████████████████████| 173 kB 1.1 MB/s
Collecting rsa<5,>=3.1.4; python_version >= “3.5”
Downloading rsa-4.6-py3-none-any.whl (47 kB)
|████████████████████████████████| 47 kB 1.3 MB/s
Collecting cachetools<5.0,>=2.0.0
Downloading cachetools-4.1.1-py3-none-any.whl (10 kB)
Requirement already satisfied, skipping upgrade: pyasn1-modules>=0.2.1 in c:\pg\python38\lib\site-packages (from google-auth>=1.16.0->google-api-python-client) (0.2.8)
Requirement already satisfied, skipping upgrade: oauthlib>=3.0.0 in c:\pg\python38\lib\site-packages (from requests-oauthlib>=0.7.0->google-auth-oauthlib) (3.1.0)
Requirement already satisfied, skipping upgrade: urllib3<1.27,>=1.21.1 in c:\pg\python38\lib\site-packages (from requests<3.0.0dev,>=2.18.0->google-api-core<2dev,>=1.21.0->google-api-python-client) (1.26.2)
Requirement already satisfied, skipping upgrade: certifi>=2017.4.17 in c:\pg\python38\lib\site-packages (from requests<3.0.0dev,>=2.18.0->google-api-core<2dev,>=1.21.0->google-api-python-client) (2020.11.8)
Requirement already satisfied, skipping upgrade: chardet<4,>=3.0.2 in c:\pg\python38\lib\site-packages (from requests<3.0.0dev,>=2.18.0->google-api-core<2dev,>=1.21.0->google-api-python-client) (3.0.4)
Requirement already satisfied, skipping upgrade: idna<3,>=2.5 in c:\pg\python38\lib\site-packages (from requests<3.0.0dev,>=2.18.0->google-api-core<2dev,>=1.21.0->google-api-python-client) (2.10)
Requirement already satisfied, skipping upgrade: pyasn1>=0.1.3 in c:\pg\python38\lib\site-packages (from rsa<5,>=3.1.4; python_version >= “3.5”->google-auth>=1.16.0->google-api-python-client) (0.4.8)
Installing collected packages: protobuf, googleapis-common-protos, rsa, cachetools, google-auth, google-api-core, httplib2, google-auth-httplib2, uritemplate, google-api-python-client, google-auth-oauthlib
Successfully installed cachetools-4.1.1 google-api-core-1.23.0 google-api-python-client-1.12.8 google-auth-1.23.0 google-auth-httplib2-0.0.4 google-auth-oauthlib-0.4.2 googleapis-common-protos-1.52.0 httplib2-0.18.1 protobuf-3.14.0 rsa-4.6 uritemplate-3.0.1
Enterキーを押すと、Googleクライアントライブラリのインストールが開始され、「Successfully installed」と表示されます。これが表示されれば正常にインストールは完了となります。
■サンプルを設定する
Pythonが実行されている作業ディレクトリ(カレントディレクトリ)に、「quickstart.py」というファイルを作成します。作成したファイルをコードエディターで開きます。
■コード
from __future__ import print_function
import datetime
import pickle
import os.path
from googleapiclient.discovery import build
from google_auth_oauthlib.flow import InstalledAppFlow
from google.auth.transport.requests import Request

# If modifying these scopes, delete the file token.pickle.
SCOPES = ['https://www.googleapis.com/auth/calendar.readonly']


def main():
    """Shows basic usage of the Google Calendar API.
    Prints the start and name of the next 10 events on the user's calendar.
    """
    creds = None
    # The file token.pickle stores the user's access and refresh tokens, and is
    # created automatically when the authorization flow completes for the first
    # time.
    if os.path.exists('token.pickle'):
        with open('token.pickle', 'rb') as token:
            creds = pickle.load(token)
    # If there are no (valid) credentials available, let the user log in.
    if not creds or not creds.valid:
        if creds and creds.expired and creds.refresh_token:
            creds.refresh(Request())
        else:
            flow = InstalledAppFlow.from_client_secrets_file(
                'credentials.json', SCOPES)
            creds = flow.run_local_server(port=0)
        # Save the credentials for the next run
        with open('token.pickle', 'wb') as token:
            pickle.dump(creds, token)

    service = build('calendar', 'v3', credentials=creds)

    # Call the Calendar API
    now = datetime.datetime.utcnow().isoformat() + 'Z' # 'Z' indicates UTC time
    print('Getting the upcoming 10 events')
    events_result = service.events().list(calendarId='primary', timeMin=now,
                                        maxResults=10, singleEvents=True,
                                        orderBy='startTime').execute()
    events = events_result.get('items', [])

    if not events:
        print('No upcoming events found.')
    for event in events:
        start = event['start'].get('dateTime', event['start'].get('date'))
        print(start, event['summary'])


if __name__ == '__main__':
    main()
上記のコードを入力、もしくはコピーしてファイルに貼り付けて保存します。
■プログラムの実行
保存後、Windowsのコマンドプロンプトを開きます。
python quickstart.py
開いた後、上記のコマンドを入力し、プログラムを実行するために、Enterキーを押します。
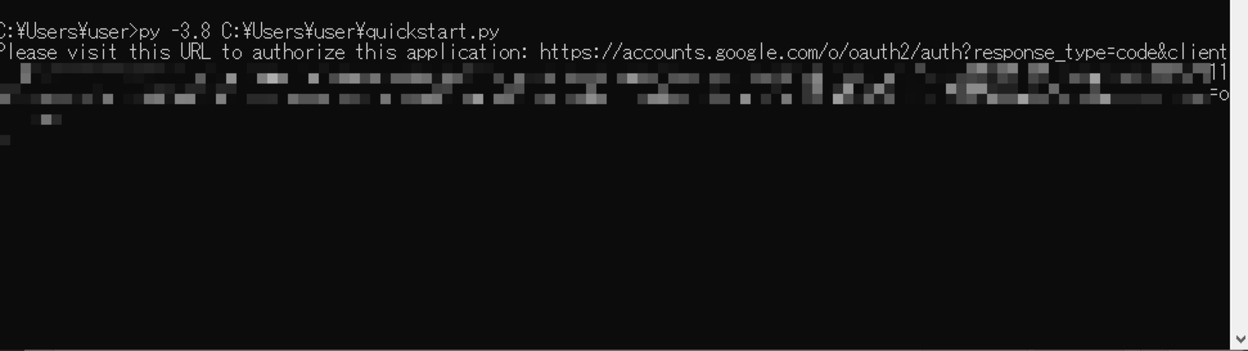
Please visit this URL to authorize this application: https://accounts.google.com/o/oauth2/auth?response_type=code&client_id=○○○
Enterキーを押すと、上記のようなメッセージが表示され、Webブラウザが起動します。

起動すると、「ログイン – Googleアカウント」のページが表示されますので、お持ちのGoogleアカウントを選択します。

選択すると「このアプリは確認されていません」、「このアプリは、Google による確認が済んでいません。よく知っている信頼できるデベロッパーの場合に限り続行してください。」、「デベロッパーの場合は、この画面が表示されないようにするには確認リクエストを送信してください。」とページに表示されますので、ページ下の「詳細」ボタンをクリックします。

クリックすると、追加で文章が表示されて、その下に「(プロジェクト名)(安全ではないページ)に移動」という文字が表示されていますので、こちらをクリックします。
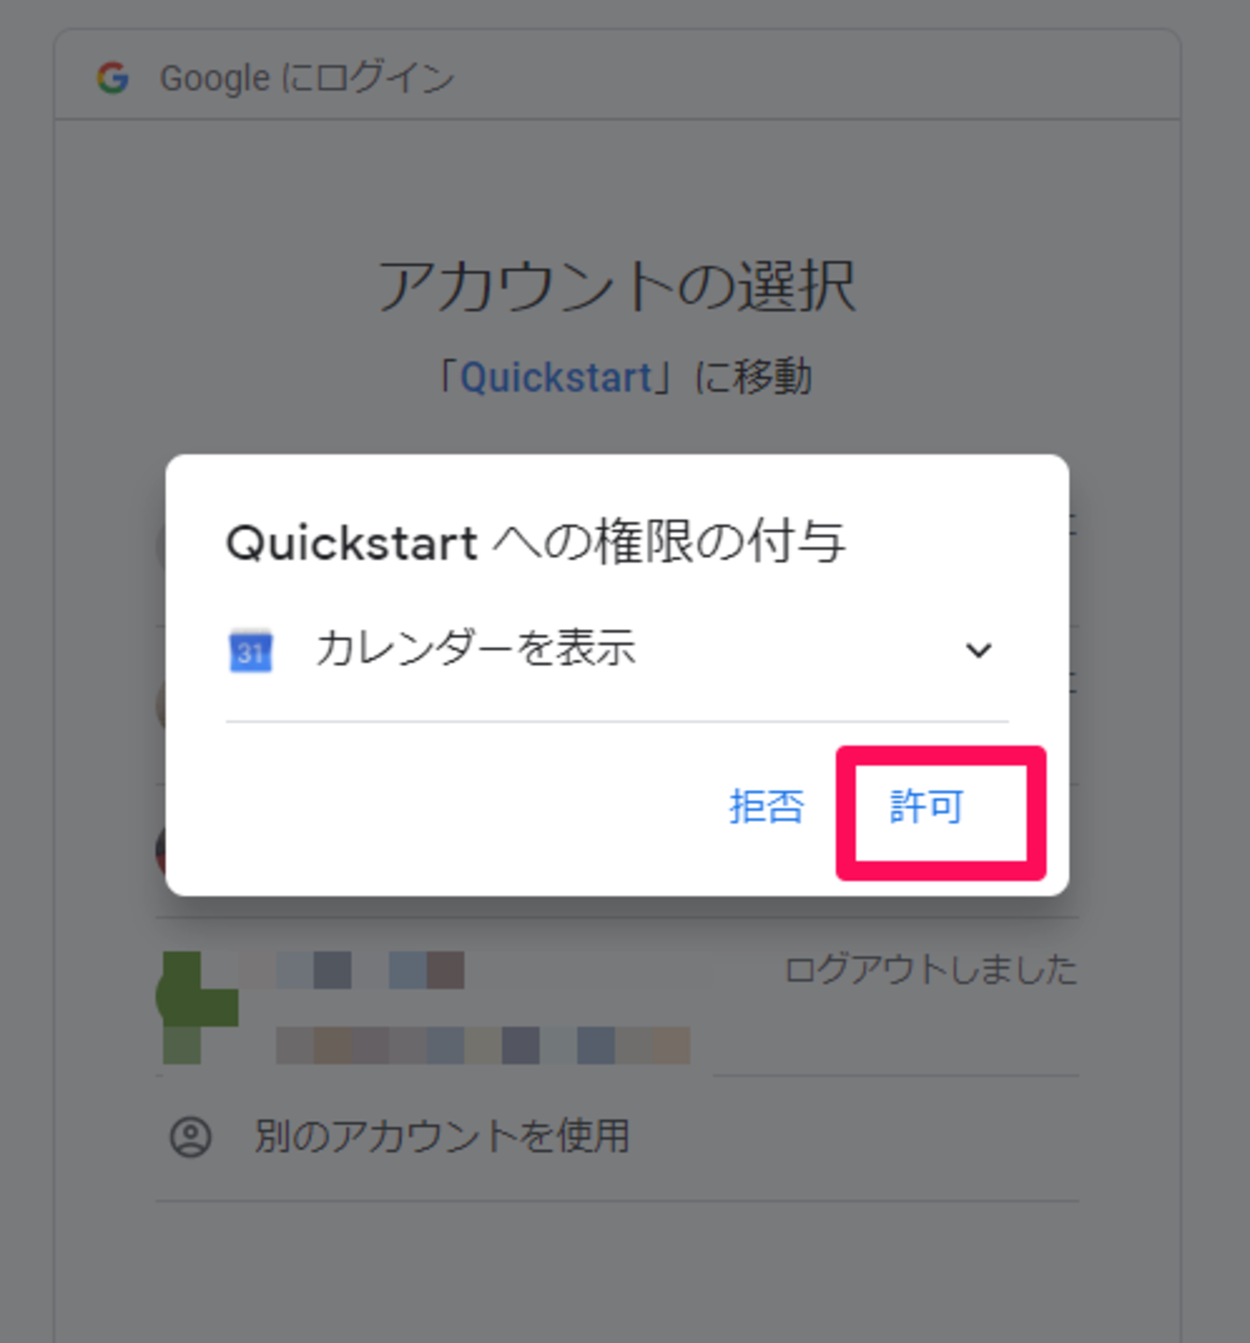
クリックすると「(プロジェクト名)への権限の付与」というウインドウが表示されます。「カレンダーを表示」と表示されていますので、これを許可するために「許可」ボタンをクリックします。
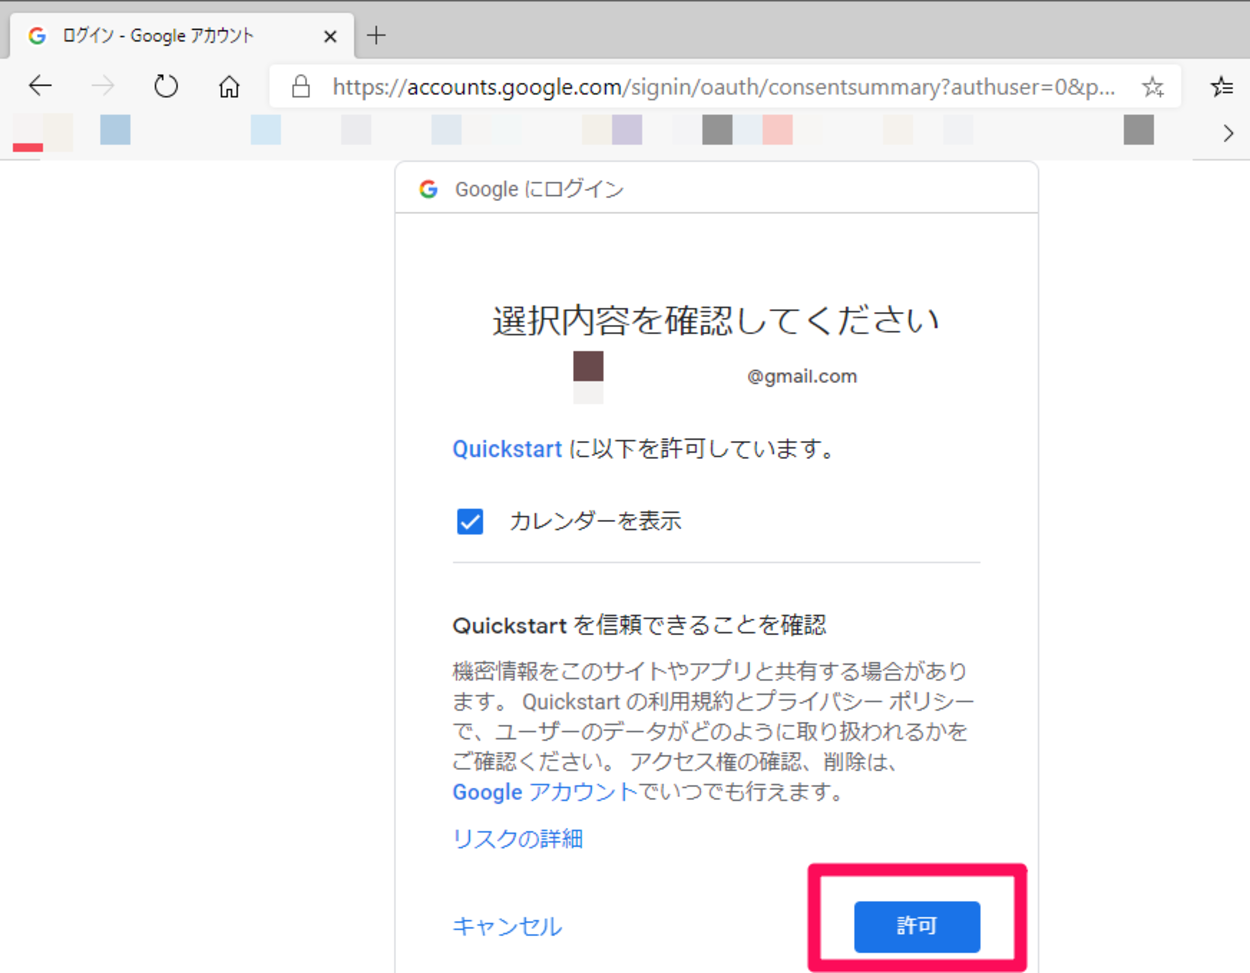
クリックすると、「選択内容を確認してください」と表示されます。「(プロジェクト名) に以下を許可しています。」と書かれており、「カレンダーを表示」が対象となっています。これを許可するために「許可」ボタンをクリックします。
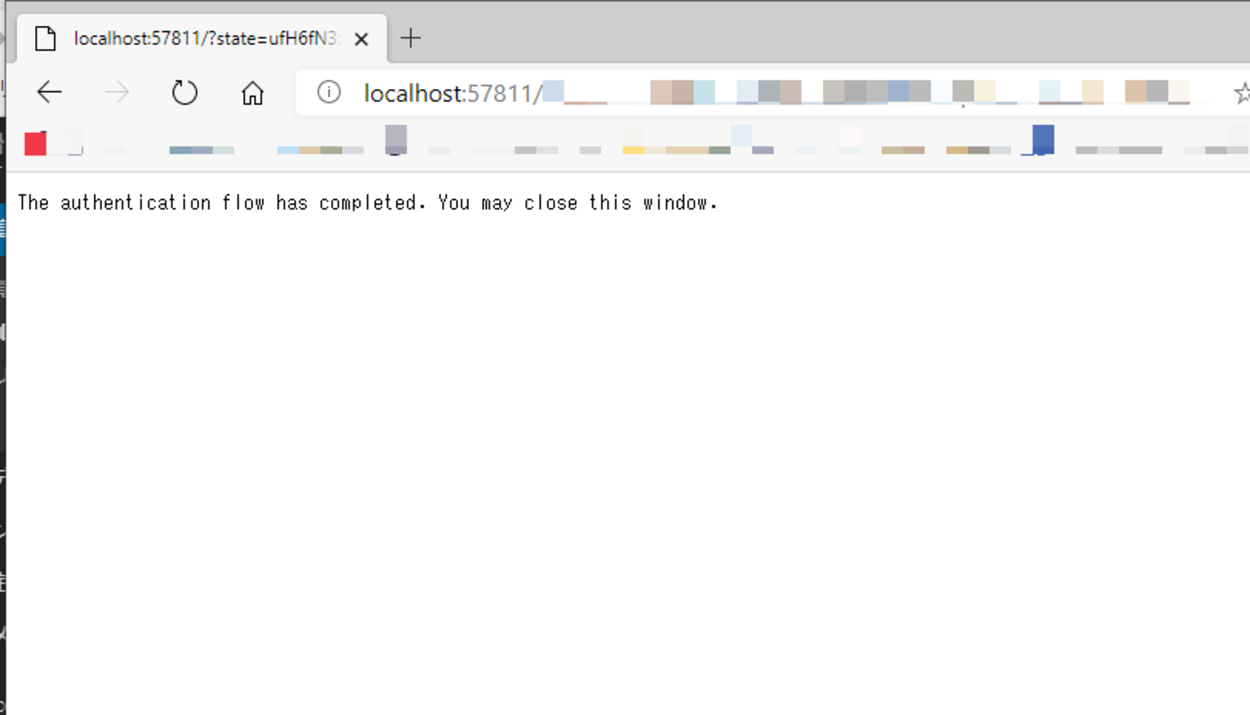
クリックすると、「The authentication flow has completed. You may close this window.(認証フローが完了しました。このウィンドウを閉じることができます。)」と表示されますので、Webブラウザを閉じます。
Getting the upcoming 10 events
No upcoming events found.(今後の10のイベントを取得する。今後のイベントは見つかりませんでした。)
閉じた後に、Windowsコマンドプロンプトを確認すると、Googleカレンダーの情報が取得され、上記のメッセージが表示されます。

コメント