
Hugoのインストールを行い、新しいアプリケーションを作成し、Gitを使用してHugoにテーマを追加後、構成を更新を行い、アプリケーションに新しい投稿を作成。作成後、Webサーバーを起動し新しく作成したアプリケーションの確認を行います。
■PC環境
・Windows10、Administrator(管理者)アカウント
・パッケージ管理ソフトウェア「Chocolatey」インストール済。インストールに関してはこちらをご確認ください。
・Chocolateyを使用しGit、インストール済
■ローカルWebサーバーを起動する
アプリケーションに新しい投稿を作成後、Windows10のデスクトップ画面に、「ここに入力して検索」と表示されている検索ボックスで「powershell.exe」と検索し、 Windows PowerShellを表示させておきます。
PS C:\WINDOWS\system32\demo> hugo server -D
表示後、cdコマンドで新しく作成したアプリケーション「demo」に移動します。移動後、上記のコマンドを入力し、Enterキーを押します。
Start building sites …
| EN-US
——————-+——–
Pages | 20
Paginator pages | 0
Non-page files | 0
Static files | 4
Processed images | 0
Aliases | 6
Sitemaps | 1
Cleaned | 0Built in 29 ms
Watching for changes in C:\WINDOWS\system32\demo\{archetypes,content,data,layouts,static,themes}
Watching for config changes in C:\WINDOWS\system32\demo\config.toml
Environment: “development”
Serving pages from memory
Running in Fast Render Mode. For full rebuilds on change: hugo server –disableFastRender
Web Server is available at http://localhost:1313/ (bind address 127.0.0.1)
Press Ctrl+C to stop
Enterキーを押すと、上記のメッセージが表示されます。メッセージが書かれている「http://localhost:1313/」にWebブラウザでアクセスします。
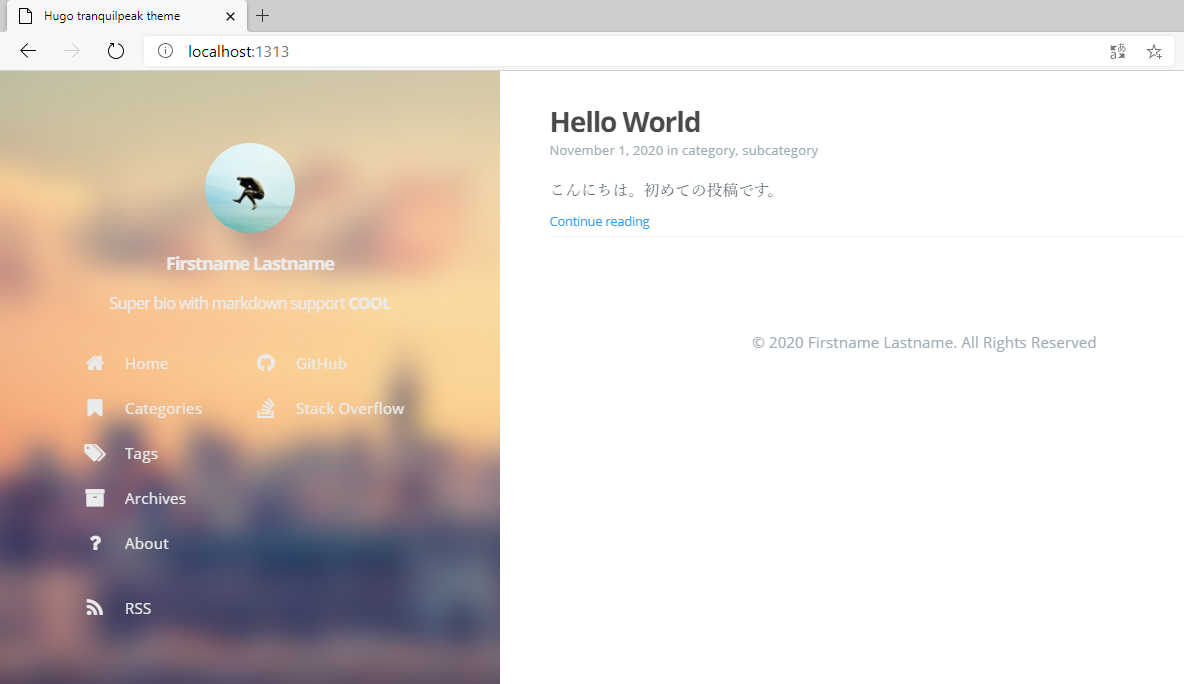
アクセスすると、新しく作成したアプリケーションが確認できます。編集されたページも投稿されていることが確認できました。

コメント