
Pythonでwebbotを使用しWeb自動化を行ってみます。
今回は、webbotライブラリを使用します。webbotはPythonの標準ライブラリではありませんので、事前にインストールする必要があります。
■Python
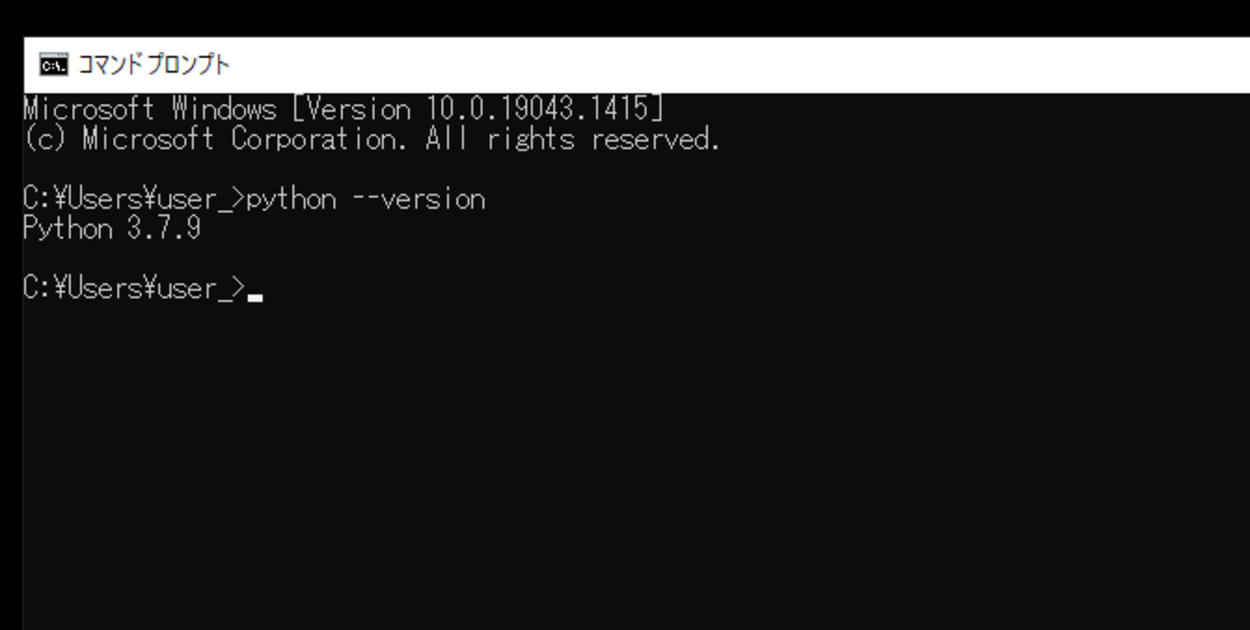
今回のPythonのバージョンは、「3.7.9」を使用しています。(Windows10)(pythonランチャーでの確認)
■webbotを使用しWeb自動化を行う
では、早速webbotを使用しWeb自動化を行うスクリプトを書いていきます。
■コード
from webbot import Browser

web = Browser()

web.go_to('yahoo.co.jp')
web.type('大阪市')
web.press(web.Key.ENTER)
まずは「from import」を用いwebbotモジュールのBrowserを呼び出します。
その後、go_to()を用いて、括弧内でWebブラウザで開くWebページを指定します。今回は「Yahoo!Japan」を指定しています。
指定後、type()を用いて、括弧内で今回は指定したWebページの検索窓に入力するキーワードを指定します。
指定後、press()を用いて、括弧内でWebページ上でEnterキーを自動で押すように指定します。
■実行・検証
このスクリプトを「web_test_auto.py」という名前で、Pythonが実行されている作業ディレクトリ(カレントディレクトリ)に保存し、コマンドプロンプトから実行してみます。
Traceback (most recent call last):
  File "web_test_auto.py", line 3, in
    web = Browser()
  File "C:\Users\user_\AppData\Roaming\Python\Python37\site-packages\webbot\webbot.py", line 68, in __init__
    self.driver = webdriver.Chrome(executable_path=driverpath, options=options)
  File "C:\Users\user_\AppData\Roaming\Python\Python37\site-packages\selenium\webdriver\chrome\webdriver.py", line 73, in __init__
    service_log_path, service, keep_alive)
  File "C:\Users\user_\AppData\Roaming\Python\Python37\site-packages\selenium\webdriver\chromium\webdriver.py", line 99, in __init__
    options=options)
  File "C:\Users\user_\AppData\Roaming\Python\Python37\site-packages\selenium\webdriver\remote\webdriver.py", line 268, in __init__
    self.start_session(capabilities, browser_profile)
  File "C:\Users\user_\AppData\Roaming\Python\Python37\site-packages\selenium\webdriver\remote\webdriver.py", line 359, in start_session
    response = self.execute(Command.NEW_SESSION, parameters)
  File "C:\Users\user_\AppData\Roaming\Python\Python37\site-packages\selenium\webdriver\remote\webdriver.py", line 424, in execute
    self.error_handler.check_response(response)
  File "C:\Users\user_\AppData\Roaming\Python\Python37\site-packages\selenium\webdriver\remote\errorhandler.py", line 247, in check_response
    raise exception_class(message, screen, stacktrace)
selenium.common.exceptions.WebDriverException: Message: unknown error: cannot find Chrome binary
  (Driver info: chromedriver=2.39.562718 (9a2698cba08cf5a471a29d30c8b3e12becabb0e9),platform=Windows NT 10.0.19043 x86_64)
実行すると「selenium.common.exceptions.WebDriverException: Message: unknown error:」というエラーが発生します。「cannot find」ということで、Chrome binaryが探しても見つからないことが原因でエラーが発生していると判断し、chromedriverをダウンロードします。
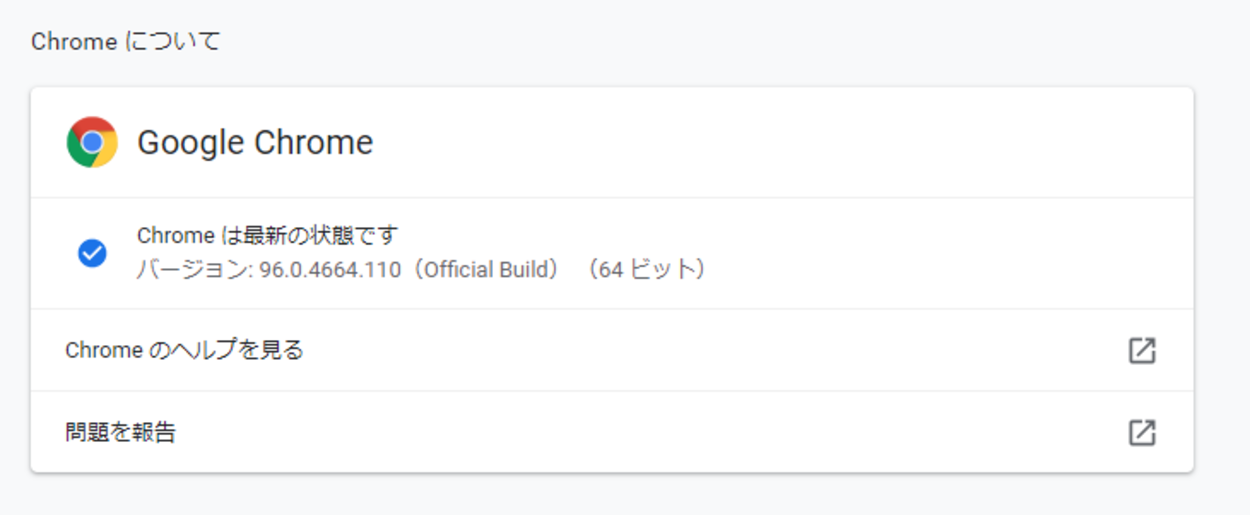
ダウンロードする際は、GoogleChromeのバージョンを確認しておきます。確認後、「ChromeDriver – WebDriver for Chrome – Downloads(https://chromedriver.chromium.org/downloads)」にアクセスします。
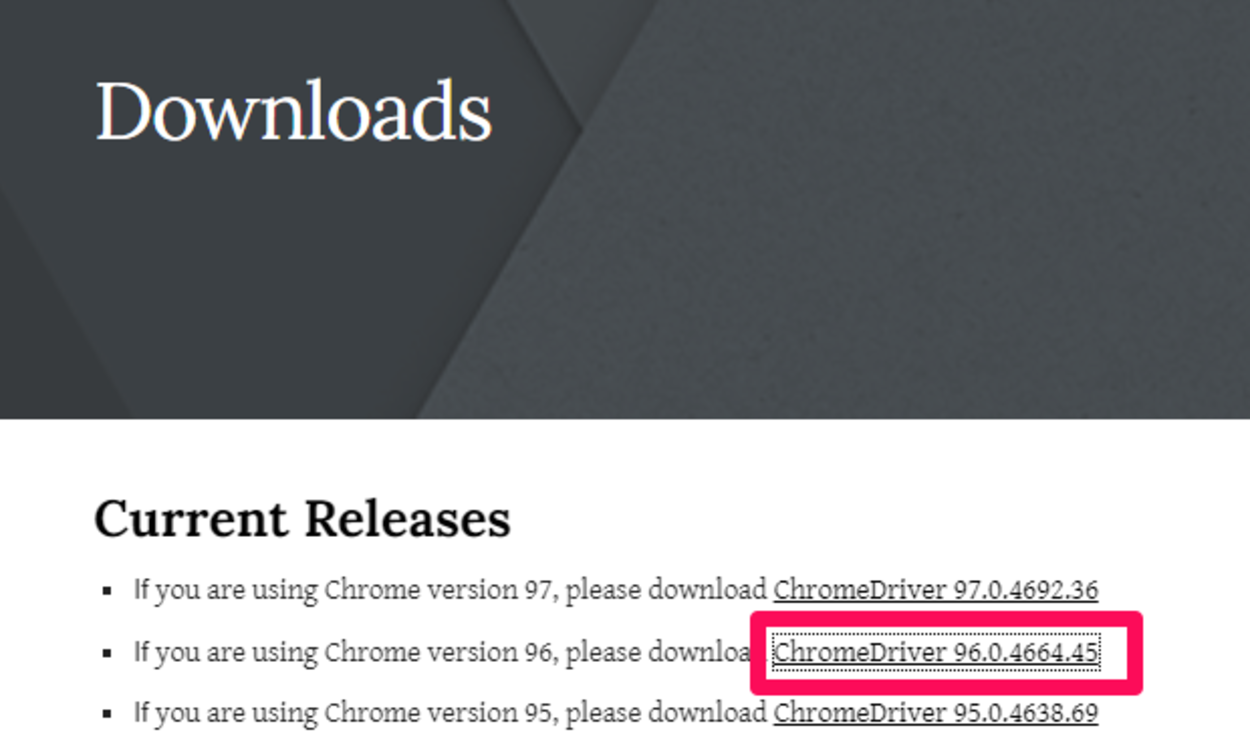
アクセス後、今回のGoogleChromeのバージョンが「96.0.4664.110」なので、Webページ上でバージョンが近い「ChromeDriver 96.0.4664.45」をクリックし、「chromedriver_win32.zip」をダウンロードします。
ダウンロードが完了すると、Webブラウザで指定されている保存場所に「chromedriver_win32.zip」が保存されます。このファイルを展開・解凍します。
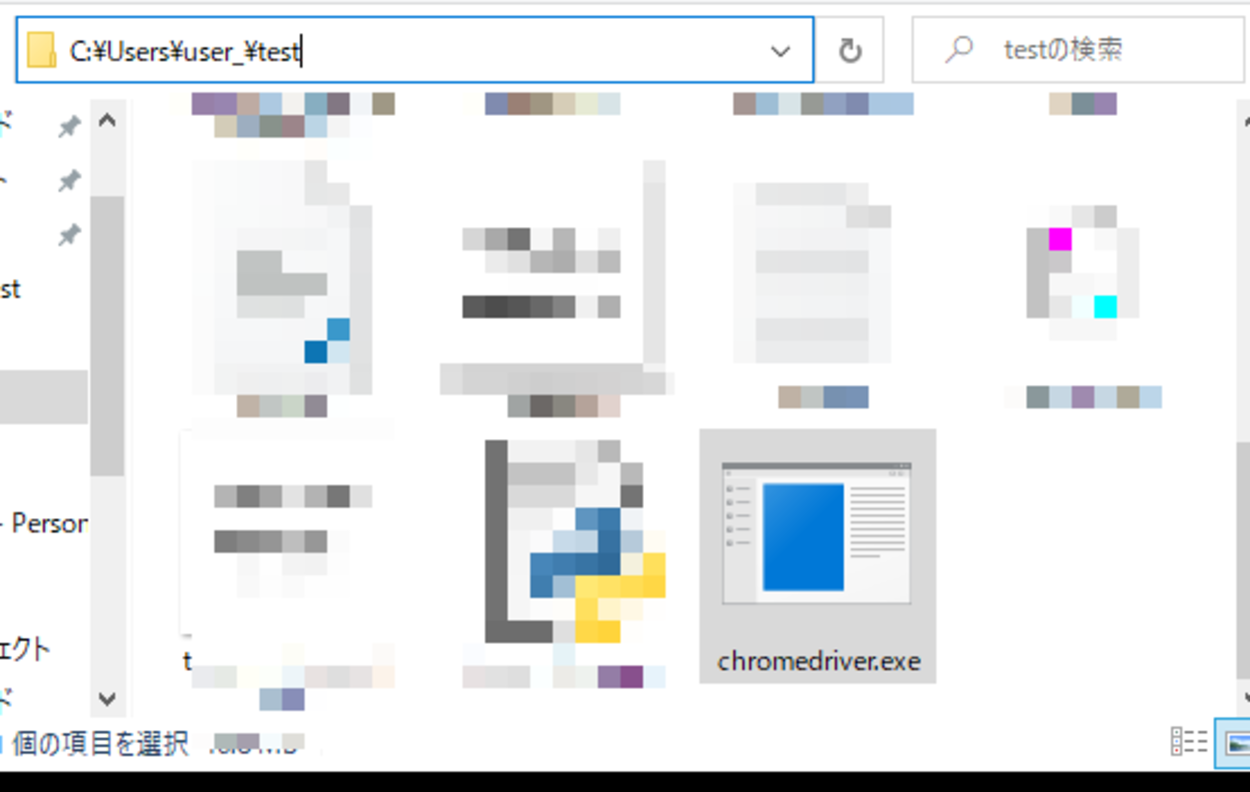
展開・解凍後、フォルダ内の「chromedriver.exe」を、今回はわかりやすく「C:\Users\user_\test(フォルダパス)」に移動させておきます。
移動後、「C:\Users\user_\AppData\Roaming\Python\Python37\site-packages\webbot」のフォルダ内の「webbot.py」ファイルを編集します。
■コード(修正前)
self.driver = webdriver.Chrome(executable_path=driverpath, options=options)
■コード(修正後)
self.driver = webdriver.Chrome(executable_path=r'C:\Users\user_\test\chromedriver.exe', options=options)
編集は、ファイル内の上記の箇所を編集し、ファイルを保存します。
py -3.7 -m pip uninstall selenium
py -3.7 -m pip install selenium==3.141.0
保存後、コマンドプロンプト上で上記のコマンドをそれぞれ入力し、Enterキーを押します。今回のPythonにインストールされたseleniumを一度アンインストールし、「selenium==3.141.0」をインストールします。なぜなら、同じようにブラウザが起動しないというエラーが報告されており、報告内容にseleniumのアンインストールなどが記載されていたため、念の為に行っておきます(https://github.com/nateshmbhat/webbot/issues/62)。
なお、今回は、Python Version 3.7.9にインストールを行うために、Pythonランチャー切り替えのために、上記のコマンドを使用しています。
■再度実行・検証
その後、編集した「web_test_auto.py」を、Pythonが実行されている作業ディレクトリ(カレントディレクトリ)に保存し、コマンドプロンプトから実行してみます。
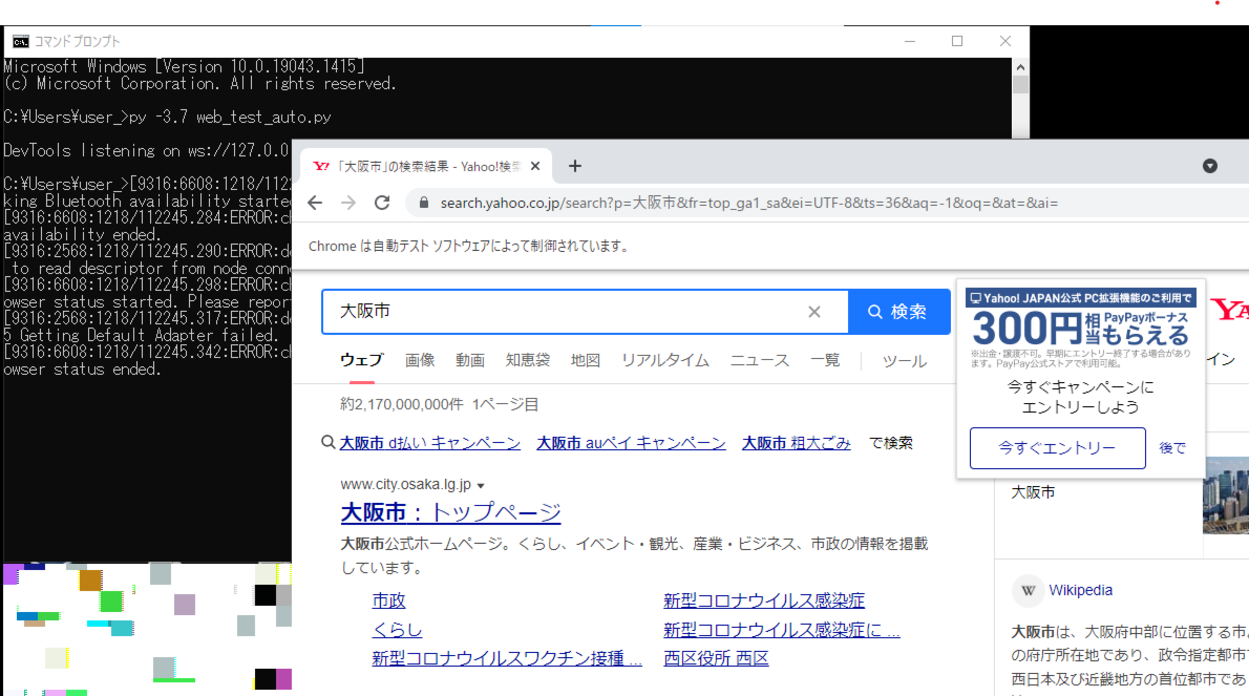
実行してみると、今度はGoogleChromeが自動的に起動し、指定したWebページにアクセスし、検索窓に自動で指定したキーワードを入力し、そしてEnterキーが押され、検索結果を表示させることができました。GoogleChrome上には「Chromeは自動テストソフトウェアによって制御されています。」と出力されていることも確認できました。
DevTools listening on ws://127.0.0.1:18866/devtools/browser/97f3ff2d-f5d6-4e39-90bf-17fad0b2640a

C:\Users\user_>[9316:6608:1218/112245.281:ERROR:chrome_browser_main_extra_parts_metrics.cc(226)] crbug.com/1216328: Checking Bluetooth availability started. Please report if there is no report that this ends.
[9316:6608:1218/112245.284:ERROR:chrome_browser_main_extra_parts_metrics.cc(229)] crbug.com/1216328: Checking Bluetooth availability ended.
[9316:2568:1218/112245.290:ERROR:device_event_log_impl.cc(214)] [11:22:45.290] USB: usb_device_handle_win.cc:1048 Failed to read descriptor from node connection: システムに接続されたデバイスが機能していません。 (0x1F)
[9316:6608:1218/112245.298:ERROR:chrome_browser_main_extra_parts_metrics.cc(232)] crbug.com/1216328: Checking default browser status started. Please report if there is no report that this ends.
[9316:2568:1218/112245.317:ERROR:device_event_log_impl.cc(214)] [11:22:45.316] Bluetooth: bluetooth_adapter_winrt.cc:1075 Getting Default Adapter failed.
[9316:6608:1218/112245.342:ERROR:chrome_browser_main_extra_parts_metrics.cc(236)] crbug.com/1216328: Checking default browser status ended.
[10072:7964:1218/112437.800:ERROR:gpu_init.cc(457)] Passthrough is not supported, GL is disabled, ANGLE is
コマンドプロンプト上では上記のメッセージが出力されました。このメッセージを出力しないようにするためには、「C:\Users\user_\AppData\Roaming\Python\Python37\site-packages\webbot」のフォルダ内の「webbot.py」ファイルを編集します。
■コード(修正前)
    def __init__(self, showWindow=True, proxy=None , downloadPath:str=None):
        options = webdriver.ChromeOptions()
        options.add_argument("--disable-dev-shm-usage")
        options.add_argument("--no-sandbox")
■コード(修正後)
    def __init__(self, showWindow=True, proxy=None , downloadPath:str=None):
        options = webdriver.ChromeOptions()
        options.add_argument("--disable-dev-shm-usage")
        options.add_argument("--no-sandbox")
        options.add_experimental_option('excludeSwitches', ['enable-logging'])
編集は、上記の箇所を編集し、保存します。
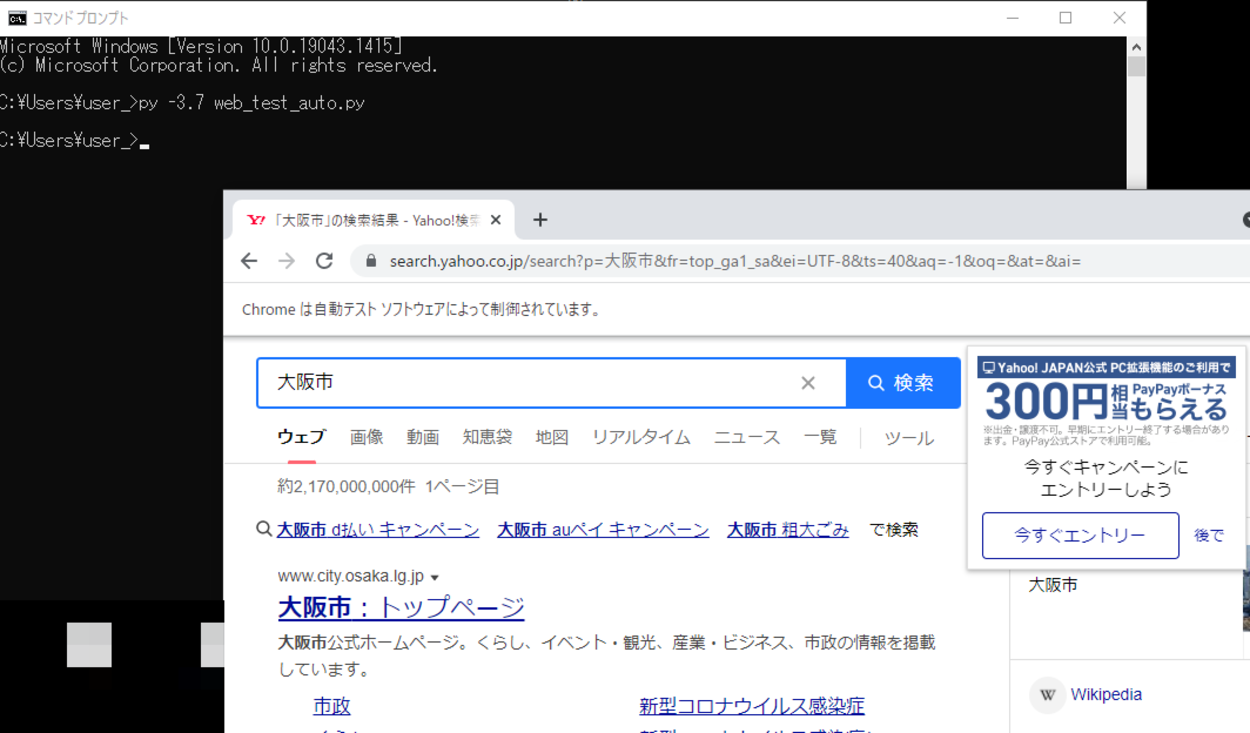
保存後、スクリプトを実行すると、コマンドプロンプト上に、先程のメッセージが出力されず、処理が実行されることを確認できました。
コメント