
Guzzleを使用しPHPによるWebスクレイピングを行ってみます。
Guzzle(https://github.com/guzzle/guzzle)は、PHPのHTTPクライアントで、HTTPリクエストを素早く簡単に送信することができます。
■環境
・Windows10
・XAMPP 8.0.6
・PHP Version 8.0.6
・Composer Version 2.1.3
■プロジェクトディレクトリを作成
まずは、プロジェクトディレクトリを作成します。作成するために、Windows10のコマンドプロンプトを起動します。
C:\Users\user_>mkdir php_scraping
起動後、上記のコマンドを入力し、Enterキーを押します。作業ディレクトリ(カレントディレクトリ)内に「php_scraping」というディレクトリを作成します。
C:\Users\user_>cd php_scraping
作成後、上記のコマンドを入力し、Enterキーを押します。「php_scraping」というディレクトリに移動します。
C:\Users\user_\php_scraping>composer init — require=”php >=8.0.6" — no-interaction
C:\Users\user_\php_scraping>composer update作成後、上記のコマンドを入力し、Enterキーを押します。「Writing composer.json」でcomposer.jsonの作成と初期化を行います。
Loading composer repositories with package information(パッケージ情報を含む composer リポジトリを読み込む)
Updating dependencies(依存関係の更新)
Nothing to modify in lock file(ロックファイルの変更なし)
Writing lock file(ロックファイルの書き込み)
Installing dependencies from lock file (including require-dev)(ロックファイルからの依存関係のインストール(require-devを含む)
)
Nothing to install, update or remove(インストール、アップデート、削除するものがない
)
Generating autoload files(オートロードファイルの生成
)
Enterキーを押すと、上記のメッセージが出力されます。これでプロジェクトファイルの設定は完了となります。
■composerを経由しGuzzleをインストールする
完了後、composerを経由しGuzzleをインストールします。
C:\Users\user_\php_scraping>composer require guzzlehttp/guzzle
上記のコマンドを入力し、Enterキーを押します。
Using version ^7.3 for guzzlehttp/guzzle
./composer.json has been updated
Running composer update guzzlehttp/guzzle
Loading composer repositories with package information
Updating dependencies
Lock file operations: 6 installs, 0 updates, 0 removals
  - Locking guzzlehttp/guzzle (7.3.0)
  - Locking guzzlehttp/promises (1.4.1)
  - Locking guzzlehttp/psr7 (1.8.2)
  - Locking psr/http-client (1.0.1)
  - Locking psr/http-message (1.0.1)
  - Locking ralouphie/getallheaders (3.0.3)
Writing lock file
Installing dependencies from lock file (including require-dev)
Package operations: 6 installs, 0 updates, 0 removals
  - Downloading psr/http-message (1.0.1)
  - Downloading psr/http-client (1.0.1)
  - Downloading ralouphie/getallheaders (3.0.3)
  - Downloading guzzlehttp/psr7 (1.8.2)
  - Downloading guzzlehttp/promises (1.4.1)
  - Downloading guzzlehttp/guzzle (7.3.0)
  - Installing psr/http-message (1.0.1): Extracting archive
  - Installing psr/http-client (1.0.1): Extracting archive
  - Installing ralouphie/getallheaders (3.0.3): Extracting archive
  - Installing guzzlehttp/psr7 (1.8.2): Extracting archive
  - Installing guzzlehttp/promises (1.4.1): Extracting archive
  - Installing guzzlehttp/guzzle (7.3.0): Extracting archive
3 package suggestions were added by new dependencies, use `composer suggest` to see details.
Generating autoload files
1 package you are using is looking for funding.
Use the `composer fund` command to find out more!
Enterキーを押すと、インストールが開始され、しばらくすると完了となります。
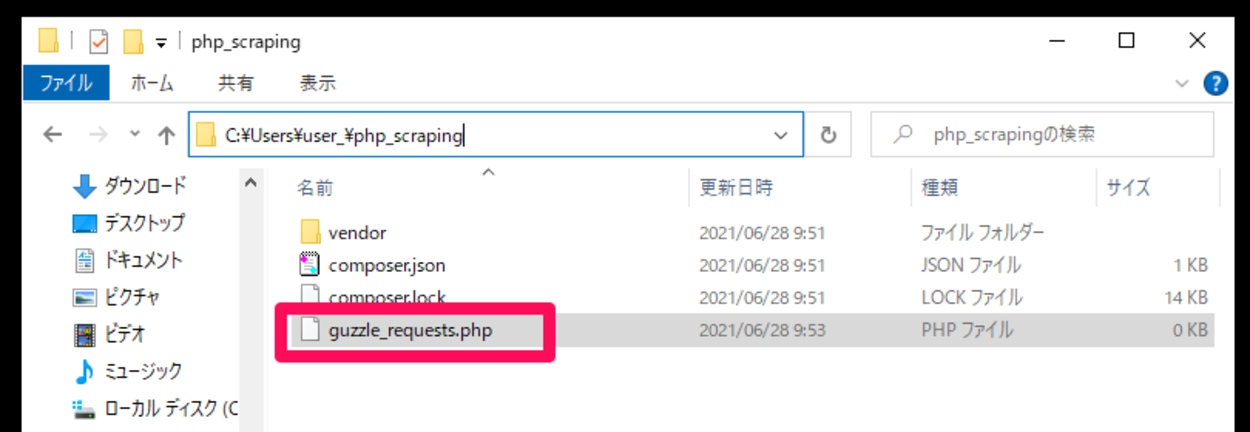
完了後、「C:\Users\user_\php_scraping」のディレクトリ内に「guzzle_requests.php」というファイルを作成します。このファイルを、コードエディタなどで開き、コードを記述します。
■コード
<?php
require 'vendor/autoload.php';
$url = "https://www.yahoo.co.jp/";
$httpClient = new \GuzzleHttp\Client();
$response = $httpClient->request("GET", $url);
echo $response->getStatusCode()."\n";
echo $response->getHeaderLine("content-type")."\n";
echo $response->getBody()."\n";
?>
require文で外部ファイル「vendor/autoload.php」の読み込みを行います。
読み込み後、urlという変数を定義し、Webスクレイピングの対象となるWebサイトのURLを記述し、格納します。今回は「Yahoo!Japan(https://www.yahoo.co.jp/)」のサイトを指定しています。
その後、httpClientという変数を定義し、インスタンス作成します。
responseという変数を定義し、作成したインスタンスでrequest()を使用し、GETでURLを送信します。
その後、getStatusCode()で対応するステータスコードを取得し、getHeaderLine()でHTTPリクエストコンテンツタイプを取得。さらにgetBody()でボディ取得します。
取得した情報をecho文を使用し出力します。
■実行
記述したコードを「guzzle_requests.php」に保存し、コマンドプロンプトからスクリプトを実行させてみます。
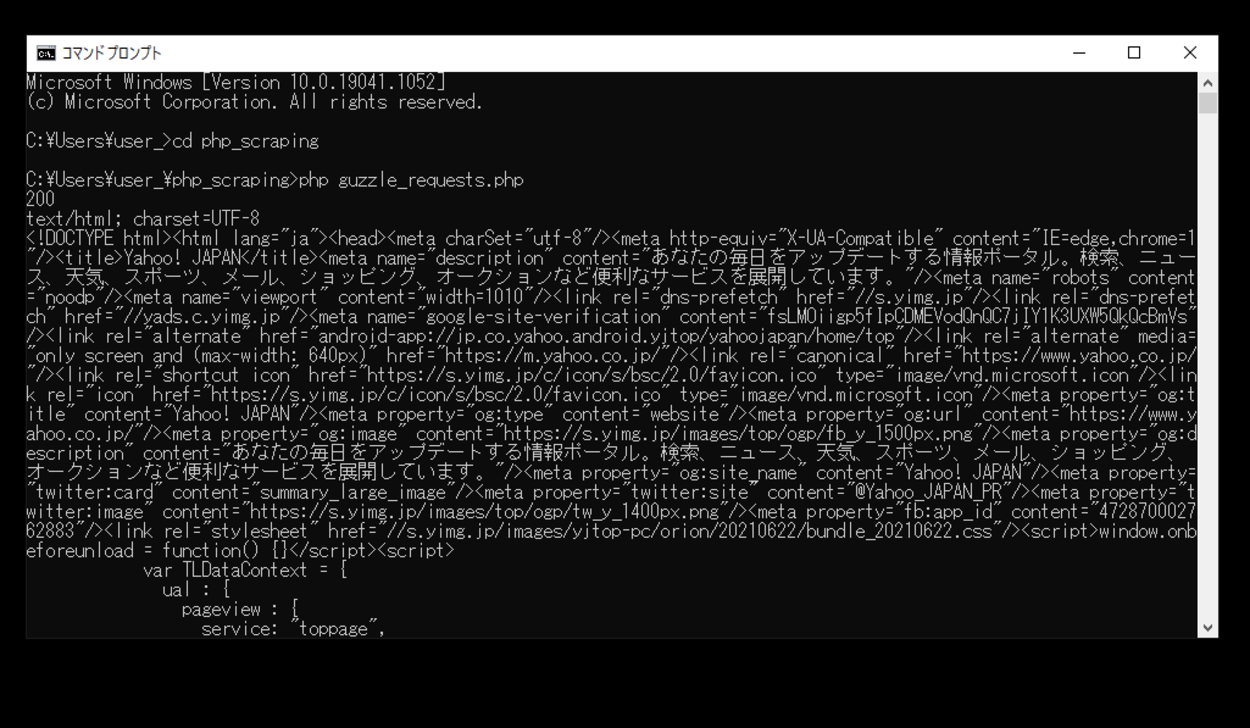
実行させてみると、今回指定したYahoo!Japanの情報が取得され、echo文で情報を出力することができました。
コメント